
Why brining changes everything
Brining is the single most reliable way to guarantee juicy roast chicken. It works by altering the protein structure of the meat before it ever touches the oven. When you submerge poultry in a saltwater solution, the salt ions penetrate the muscle fibers and cause them to unwind and swell. This process, known as protein denaturation, allows the meat to hold onto significantly more water during the high heat of roasting. Without brining, the heat forces moisture out of the fibers, resulting in dry breast meat even if you follow every other step perfectly.
The ideal brine is simple: water, salt, and aromatics. A standard ratio is one-quarter cup of kosher salt per quart of water. You can add sugar to help with browning, and ingredients like lemon slices, thyme, or garlic to infuse flavor, but the salt is the active ingredient that drives the moisture retention. The chicken needs to sit in this bath long enough for the salt to do its work. For a whole bird, four to twelve hours in the refrigerator is sufficient. Overnight is often the most convenient window.

Once the brining time is up, remove the chicken and pat it thoroughly dry with paper towels. This step is critical for achieving crispy skin. Wet skin steams in the oven rather than roasting, which prevents the Maillard reaction that creates that desirable golden-brown crust. A dry surface allows the heat to crisp the skin evenly while the brined interior remains tender and moist. This simple preparation transforms the chicken from a potential dry meal into a succulent centerpiece.
Spatchcock for even cooking
Spatchcocking is the single most effective way to transform a whole chicken from a cooking challenge into a reliable, crispy-skinned roast. By removing the backbone and flattening the bird, you eliminate the common problem of dry breast meat before the thighs are fully cooked. The result is a chicken that cooks faster, browns evenly, and presents a dramatic, rustic shape on the platter.
Think of spatchcocking as giving the chicken a flat surface area to roast against. Instead of curling into a ball where the breast shields the legs, every part of the bird faces the heat directly. This technique, popularized by chefs like Samin Nosrat, ensures that the skin renders uniformly and the meat stays juicy throughout the entire roast.
Place the chicken breast-side down on a stable cutting board. Using heavy-duty kitchen shears, cut along one side of the backbone from tail to neck. Repeat on the other side to remove the backbone entirely. Reserve the backbone for stock if desired.
Flip the chicken over so it is breast-side up. Locate the breastbone just below the neck. Press down firmly with the heels of your hands until you hear a crack and the chicken lies completely flat. This breaks the rib cage, allowing the bird to sit evenly on the roasting pan.
Pat the skin dry with paper towels to ensure maximum crispiness. Rub the chicken generously with oil, salt, and your chosen spices, ensuring you get into the crevices. Let the seasoned chicken rest in the refrigerator, uncovered, for at least an hour or up to 24 hours to dry out the skin further before roasting.
This method reduces overall roasting time by roughly 25%, making it ideal for weeknight dinners. The flattened shape also allows for better air circulation in the oven, promoting that golden-brown, shattering skin texture that defines a perfect roast.
Low and slow roasting method
Cooking a whole bird at high heat often results in dry breast meat before the thighs reach a safe temperature. The solution is a two-stage approach that prioritizes gentle heat for the white meat and higher heat for the dark meat. This technique ensures the entire chicken is juicy and properly cooked without overcooking the leaner parts.
Start by roasting the chicken at a lower temperature, around 325°F (160°C), for the majority of the cooking time. This gentle environment allows the connective tissues in the thighs to break down slowly while keeping the breast meat moist. The New York Times recommends this method for achieving the most satisfying roast chicken, noting that patience at this stage pays off in texture and flavor.
Once the internal temperature of the thickest part of the thigh reaches about 150°F (65°C), increase the oven temperature to 425°F (220°C) for the final 10–15 minutes. This high-heat finish crisps the skin and brings the thigh meat to the safe 165°F (74°C) mark without drying out the rest of the bird. Let the chicken rest for 15 minutes before carving to allow the juices to redistribute.
Double roast for crispy skin
Double roasting is the single most reliable way to guarantee crackling skin without drying out the meat. The method separates the cooking process into two distinct phases: a gentle bake to cook the interior, followed by a high-heat blast to crisp the exterior.
Start by roasting your chicken at a moderate temperature, around 325°F (160°C). This low-and-slow phase renders the fat under the skin and cooks the breast meat evenly. Because the heat is gentle, the proteins relax rather than seize up, keeping the meat juicy. Let the chicken rest after this first stage; this pause allows the surface to dry out, which is essential for the final crisp.
When you are ready for the finish, crank the oven to 450°F (230°C). Place the chicken back in for just 10 to 15 minutes. The sudden surge of heat triggers rapid Maillard reactions on the skin's surface, turning it golden and shatteringly crisp. This technique mirrors the "bake low and slow" principle often cited by professional chefs, as it prioritizes texture control over speed.
Place the seasoned chicken in a preheated 325°F (160°C) oven. Roast until the internal temperature reaches about 150°F (65°C) at the thickest part of the thigh. This usually takes 45–60 minutes depending on size. The goal is to cook the meat through gently without browning the skin yet.
Remove the chicken from the oven and transfer it to a cutting board or wire rack. Let it rest for at least 15–20 minutes. During this time, the skin will tighten and any surface moisture will evaporate. This drying step is critical because steam is the enemy of crispiness; dry skin crisps, damp skin steams.
Increase your oven temperature to 450°F (230°C). Return the chicken to the oven for 10–15 minutes. Watch it closely during this phase. The skin should turn deep golden brown and bubble slightly. Remove the chicken once the skin is crisp and the internal temperature hits 165°F (74°C).
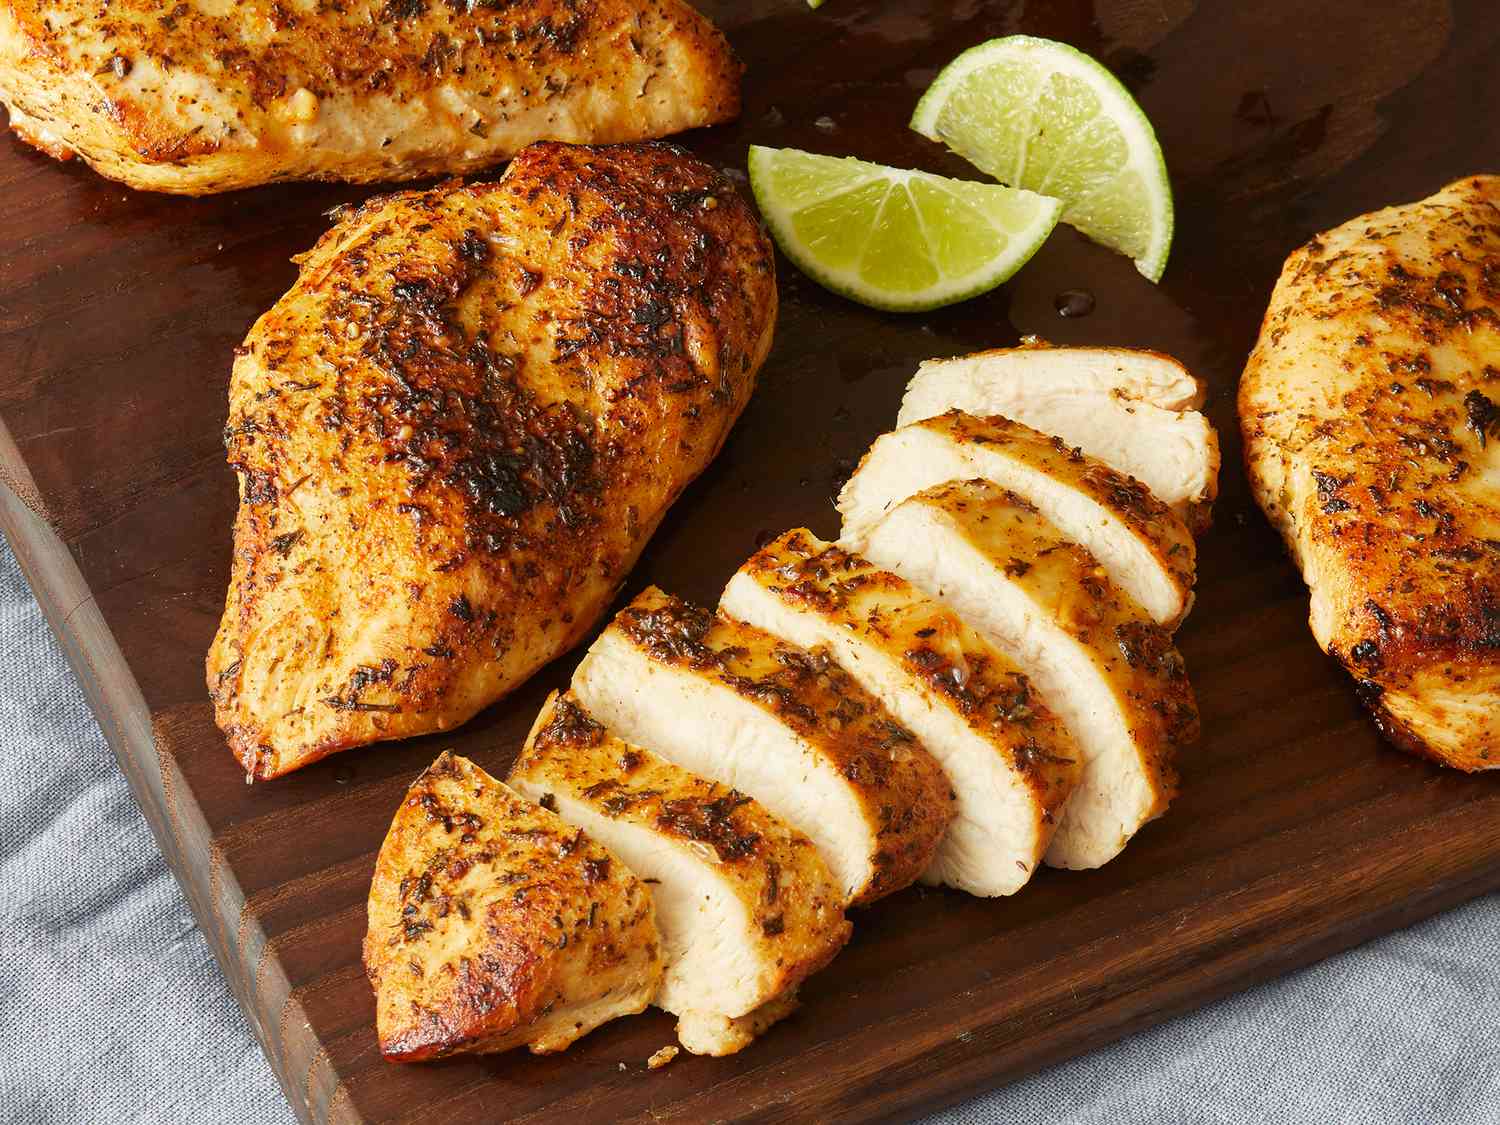
Check doneness without guessing
The biggest mistake home cooks make is cutting into the chicken to check if it’s done. This releases precious juices and dries out the meat. Instead, use a digital instant-read thermometer to check the internal temperature. Insert the probe into the thickest part of the thigh, avoiding the bone, which can give a false high reading.
The USDA recommends cooking poultry to an internal temperature of 165°F (74°C). However, for the juiciest result, you can pull the chicken from the oven at 160°F (71°C). The residual heat will continue to cook the meat as it rests, bringing it to the safe final temperature without overcooking the breast.
If you don’t have a thermometer, look for visual cues. The juices running from the thigh should be clear, not pink. The skin should be golden brown and crisp. The leg should wiggle freely in its joint, indicating the collagen has broken down properly.
Before serving, let the chicken rest for 15–20 minutes. This allows the juices to redistribute throughout the meat, ensuring every bite is moist and flavorful.
Common Mistakes to Avoid
Even experienced cooks trip over the same hurdles when roasting chicken. The difference between a dry, pale bird and a golden, juicy masterpiece often comes down to avoiding these frequent errors.
Overcrowding the Pan Packing the chicken too close to the edges or adding too many vegetables traps steam. Instead of roasting, the bird steams in its own moisture, resulting in soggy skin. Give the chicken plenty of breathing room so hot air can circulate freely.
Skipping the Rest Period Carving immediately is the fastest way to lose all your juices. The meat needs time to reabsorb the fluids that migrate to the center during cooking.
Ignoring the Thermo Relying on color alone is risky. Use an instant-read thermometer to check the thickest part of the thigh, aiming for 165°F (74°C). Pull the bird from the oven at 160°F (71°C); the residual heat will finish the job safely.
No comments yet. Be the first to share your thoughts!