

Check local rules and space needs
Before you buy your first bird, verify that your location allows it. Many municipalities restrict the number of hens, ban roosters entirely, or require a minimum lot size. You must also check with your Homeowners Association (HOA) or landlord, as private covenants often override city allowances.
Once legal permission is secured, calculate the physical space required. A good rule of thumb is approximately 2 to 4 square feet per bird inside the coop, with more outdoor run space being ideal. Overcrowding leads to stress, pecking, and disease, so start small if you are unsure.
Planning these details upfront prevents the heartbreak of having to rehome birds or dismantle a coop after purchase. Treat this step as the foundation of your raising chickens journey; skipping it often leads to early setbacks.
Build or buy a secure coop
The coop is the foundation of raising chickens. It needs to protect birds from predators like raccoons and foxes while providing enough space and airflow to keep them healthy. A secure coop prevents disease and keeps your flock safe at night.
Choose the right size
Overcrowding is the fastest way to ruin a flock. Chickens need room to move without fighting. Plan for at least 4 square feet of floor space per bird inside the coop. If they have a run, aim for 10 square feet per bird outside. This spacing reduces stress and keeps the environment cleaner.
Secure the structure
Predators are clever and strong. Use 1/2-inch hardware cloth, not chicken wire, to cover all vents and windows. Chicken wire keeps chickens in; hardware cloth keeps predators out. Bury the hardware cloth 12 inches deep around the perimeter or lay it flat and cover with dirt to stop diggers. Use sturdy latches on doors that predators cannot open with their paws.
Prioritize ventilation
Chickens produce a lot of moisture through breath and droppings. Poor ventilation leads to respiratory issues and frostbite in winter. Install high vents near the roof peak to let warm, moist air escape without creating drafts on the birds. The coop should feel dry and odor-free. Fresh air is essential for long-term health.
Set up the interior
A functional coop needs three main elements: roosts, nesting boxes, and bedding.
- Roosts: Chickens prefer to sleep off the ground. Install wooden roosts 2-4 feet high. Make them wide enough (2 inches) so birds can cover their feet with feathers in cold weather.
- Nesting boxes: Provide one box for every 3-4 hens. Place them in a dark, quiet corner. Use pine shavings as bedding to encourage laying.
- Bedding: Spread 4-6 inches of absorbent bedding like pine shavings or straw on the floor. Change it regularly to prevent ammonia buildup.
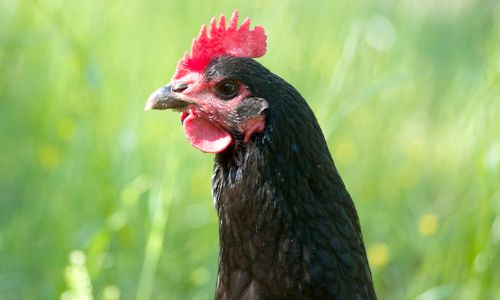
Line the base and vents with 1/2-inch hardware cloth. Bury it 12 inches deep or extend it outward to stop digging predators.
Cut openings near the roof peak and cover them with hardware cloth. This lets moisture escape without chilling the birds.
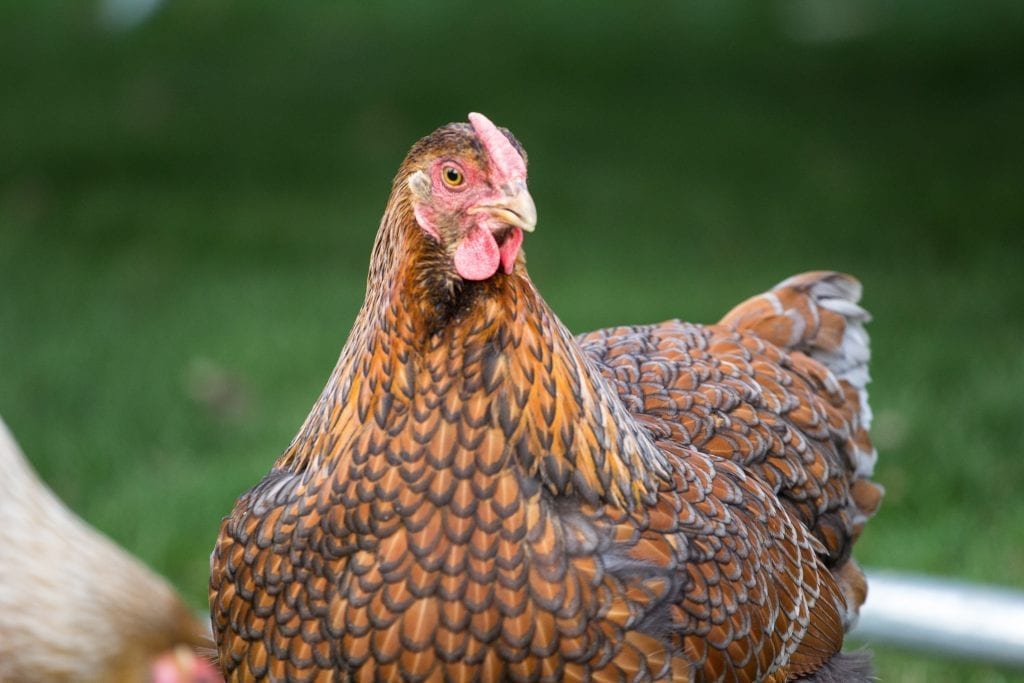
Mount wooden roosts 2-4 feet high and place nesting boxes in a dim corner. Line everything with clean pine shavings.
Match breeds to your climate
Raising chickens successfully starts with picking birds that handle your local weather without stress. A breed built for freezing winters will struggle in humid heat, and vice versa. When you align the flock with your geographic climate, you reduce heating costs, prevent heatstroke, and keep egg production steady year-round.
Start by checking your USDA hardiness zone or average winter lows. If you live where temperatures drop below 20°F (-6°C), prioritize breeds with small combs and dense feathers. For hot, humid regions, look for lighter feathering and larger combs that help with heat dissipation.
Breed comparison
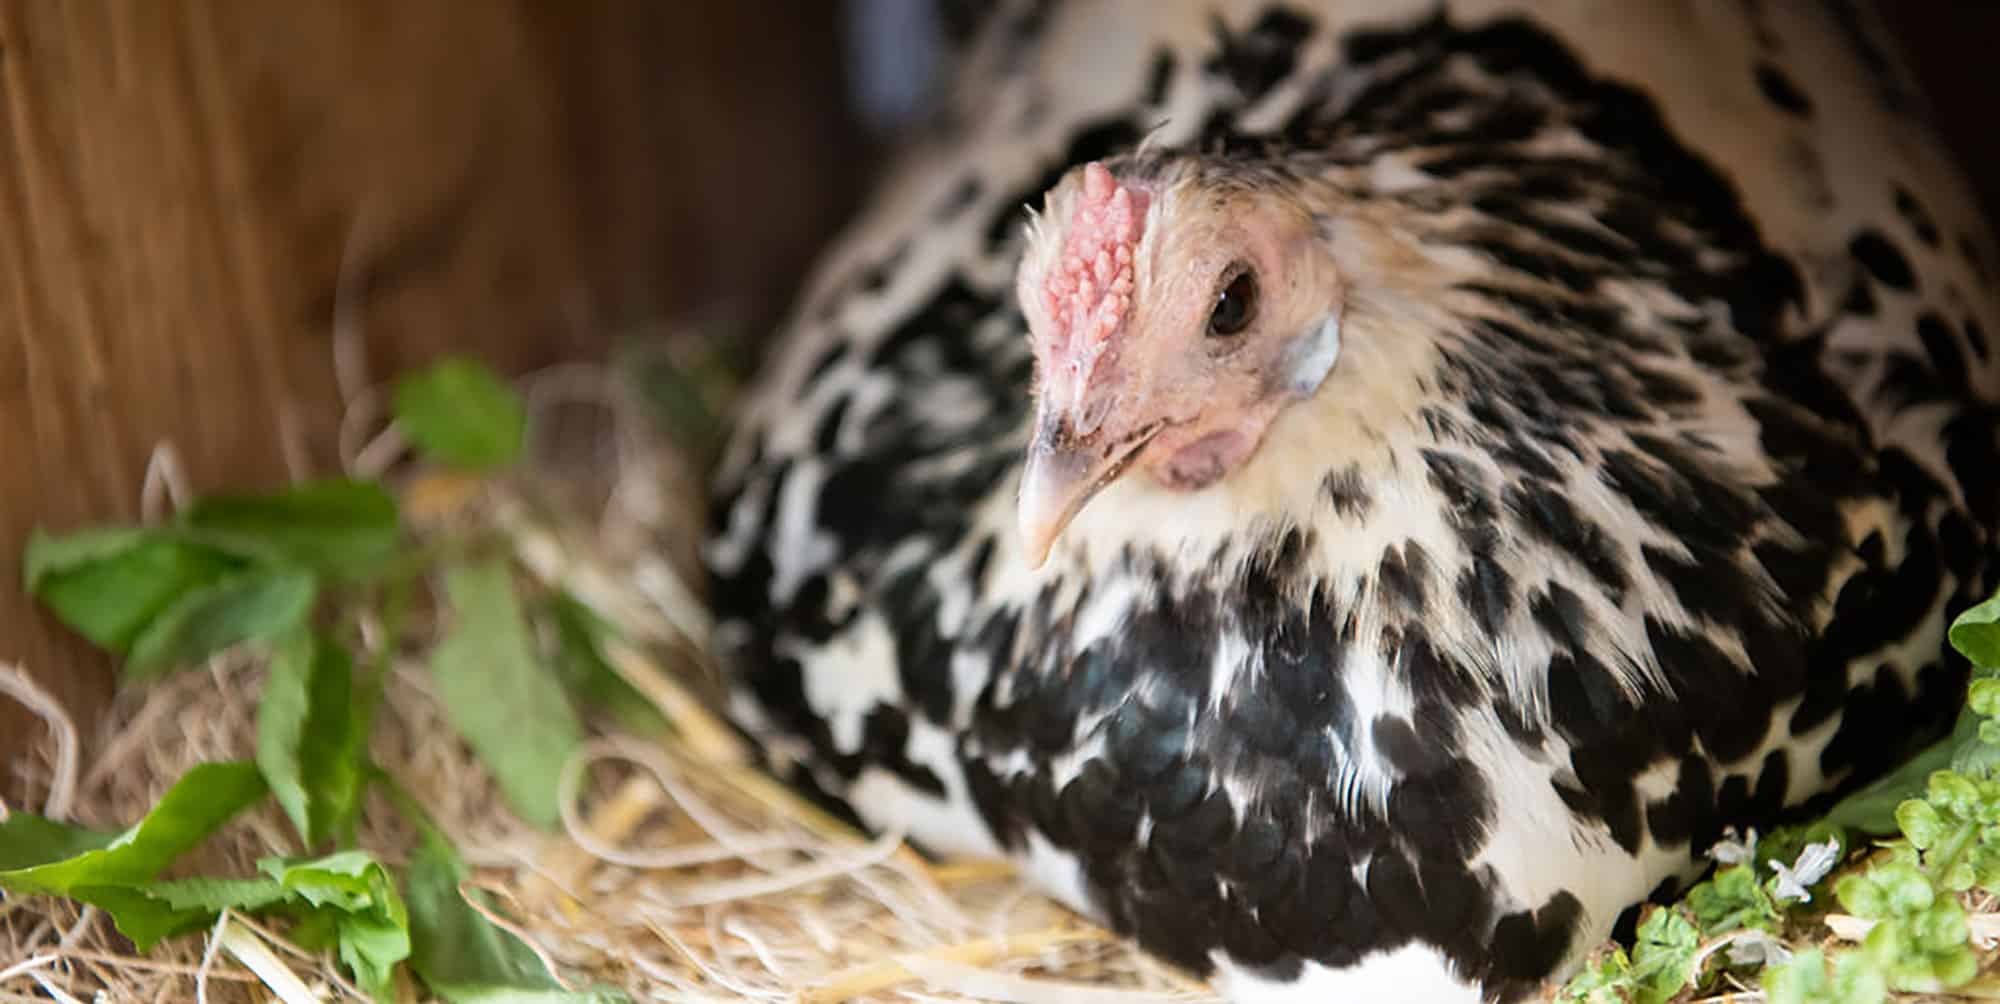
Here is how three popular beginner breeds stack up against common climate needs and production goals.
| Breed | Eggs/Year | Cold Hardiness | Heat Tolerance | Temperament |
|---|---|---|---|---|
| Rhode Island Red | 250-300 | Excellent | Good | Independent |
| Plymouth Rock | 200-280 | Very Good | Moderate | Calm |
| Leghorn | 280-320 | Fair | Excellent | Flighty |
Visual guide
Next steps
Once you have selected your breeds, move on to preparing the coop. Ensure the ventilation is adequate for the specific climate you are in, as this will be critical for their health.
Set up feeding and watering stations
Proper nutrition and hydration are the foundation of raising chickens. Chickens have different dietary needs depending on their age and purpose, and clean water is just as important as food. Setting up reliable feeding and watering stations ensures your flock stays healthy and productive.
Chickens require specific protein levels at different growth phases. Start chicks on a 20-22% protein starter feed for the first eight weeks. Switch to a 16-18% grower feed until they begin laying eggs. Once hens start laying, provide a 16% layer feed fortified with calcium to support strong eggshells. Never feed layer feed to non-laying birds, as excess calcium can damage their kidneys.
Chickens lack teeth and use their gizzard to grind food. Offer insoluble grit (small stones) to help them digest whole grains and greens. Provide oyster shells separately as a calcium supplement for laying hens. Keep these in separate containers so birds can self-regulate their intake based on their specific nutritional needs.
Chickens drink more water than they eat. Place waterers in shaded areas to keep water cool and prevent algae growth. Clean waterers every other day with hot, soapy water to remove biofilm and prevent bacterial buildup. In winter, use heated bases to prevent freezing; in summer, add ice blocks to keep water refreshing.
Use a daily maintenance checklist to ensure consistency.
-
Refill feeders with fresh feed daily
-
Clean and refill waterers every 48 hours
-
Inspect grit and oyster shell levels
-
Check for spoiled food or mold in feeders
Regular monitoring prevents disease and ensures your chickens thrive. Adjust portions based on weather and flock activity levels.
Handle chicks and daily care
Raising chickens starts with the brooder and evolves into a daily rhythm of observation. New chicks need a controlled environment to survive their first weeks, while adult hens require consistent food, water, and clean bedding to stay productive. Follow this sequence to set up a brooder for day-old chicks, then transition to the routine that keeps a laying flock healthy.
Use a sturdy plastic tub or cardboard box with high sides to keep chicks contained. Line the bottom with paper towels or non-slip treadmills for the first few days to prevent slipping. Place a heat lamp or brooder plate at one end to create a temperature gradient. Start at 95°F (35°C) for week one, reducing by 5°F each week until they are fully feathered.
Fill a shallow feeder with chick starter crumbles that contain 18-20% protein and medicated coccidiostat (unless you prefer non-medicated). Use a waterer with a shallow pan or add marbles to the base to prevent drowning. Sprinkle a few crumbs on the paper towels so chicks recognize food immediately. Change water daily to keep it fresh and clean.
Watch how the chicks distribute themselves in the brooder. If they are huddled directly under the heat source, they are too cold. If they are pressed against the far walls and panting, they are too hot. Ideally, they should be spread evenly throughout the box, eating and sleeping comfortably. Adjust the lamp height or thermostat accordingly.
Begin introducing pullets to the outdoor coop around week six, provided nighttime temperatures stay above 50°F. Introduce them gradually, letting them out for short periods during the day before leaving them overnight. Ensure the coop has roosting bars, nesting boxes, and protection from predators. Continue with layer feed once they begin laying, usually around 18-20 weeks.
Spend five minutes each morning observing the flock. Look for bright, clear eyes, clean vents, and active movement. Check for signs of mites or lice under the wings and around the vent. Collect eggs daily to prevent breakage or egg-eating habits. Remove any sick or injured birds immediately to isolate them from the main flock.
Watch for common health signs
Daily observation is the most effective way to catch illness before it spreads through the flock. When raising chickens, you don’t need to catch every bird to check their health; a quick visual scan of the group while they are active is usually enough. Healthy chickens are alert, have bright eyes, and move with purpose. Look for birds that are hiding, standing with puffed feathers, or refusing to eat.
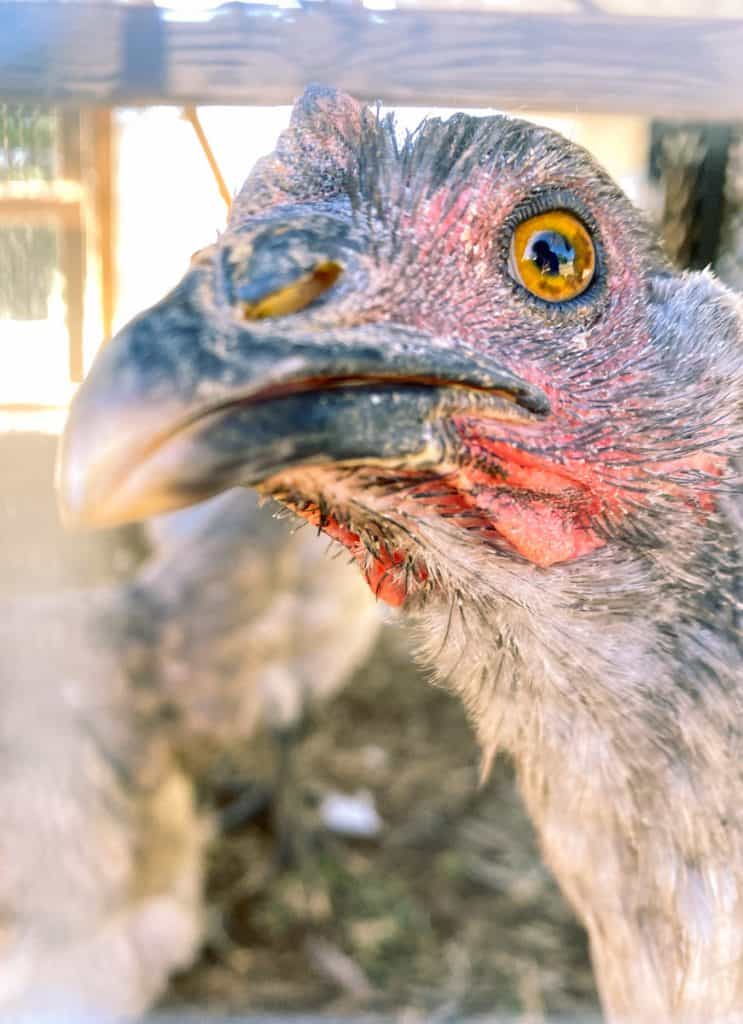
Perform a more detailed check once a week on any bird that seems off. Start by looking at the comb and wattles. In healthy birds, these should be red and plump. Pale, blue, or shriveled combs can indicate anemia, respiratory issues, or poor circulation. Check the vent area for cleanliness; droppings stuck to feathers often signal digestive problems or parasites.
Inspect the skin and feathers for external pests. Lift the feathers around the vent, wings, and under the wings to look for mites or lice. These pests hide in the feather shafts and skin folds. If you see tiny moving specks or white eggs attached to feathers, treat the bird immediately. Also, check for any open wounds, especially around the feet and legs, which can attract flies and lead to infection.
Frequently asked questions about raising chickens
Starting a flock involves more than just buying birds. Here are the most common questions new chicken keepers ask before they begin raising chickens.
No comments yet. Be the first to share your thoughts!